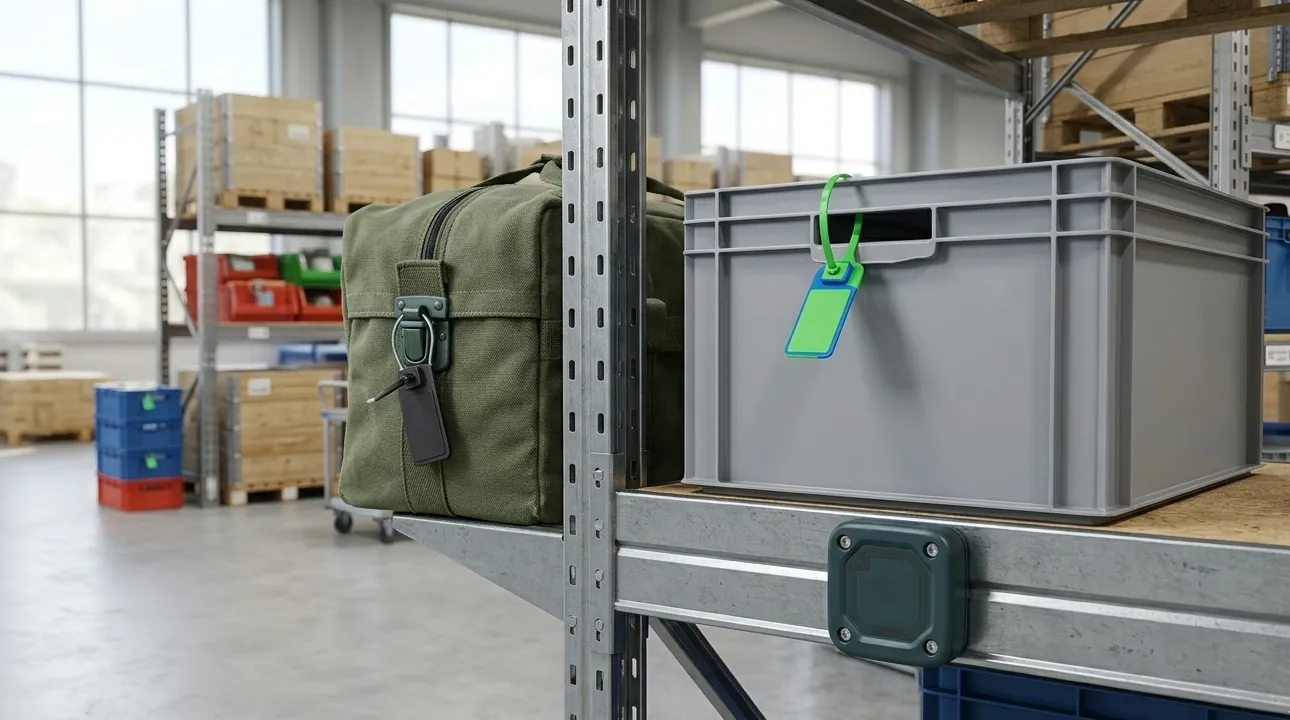
RFID guard tour systems improve accountability by replacing handwritten logs with fixed checkpoint tags that record exactly when a guard reached each location. Each scan creates a timestamped, hard-to-fake record — turning “I checked it” from a claim into evidence that supervisors and clients can review.
For security companies, facility managers, and integrators, the real question is not whether to add RFID checkpoints. It is which tag format, frequency, and mounting method will hold up on your routes and work with the reader or app your guards already carry.
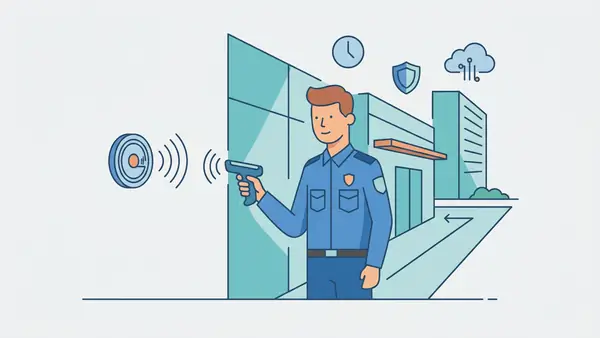
The Accountability Problem: “Ghost Patrols” and Unverifiable Logs
Before checkpoint tags, patrol accountability usually depended on a guard’s own paper sheet or radio call-in. Both are easy to fill in after the fact, easy to forget, and hard to audit when a client asks, “Can you prove the 2 a.m. round actually reached the loading dock?”
This gap has a name in the security industry: a “ghost patrol” — a round that is logged as complete but was never physically walked. According to Wikipedia’s overview of guard tour patrol systems, these systems exist specifically to confirm that security personnel complete patrols as scheduled, by requiring a scan of a checkpoint tag — RFID, NFC, or barcode — at each stop along the route. Because the tag has to be physically present and scanned, a guard cannot record a visit without actually reaching that location.
For security contractors, this is also a sales argument: a documented, timestamped patrol log is proof of service delivered, not just a promise.
How an RFID Checkpoint Creates a Timestamped Record
A guard tour deployment has four parts, and RFIDEcho’s role is specifically the first one — the checkpoint tag itself.
| Component | Role | Typically provided by |
|---|---|---|
| Checkpoint tag | Fixed RFID/NFC transponder mounted at a route location, carrying a unique encoded ID | RFID tag manufacturer (RFIDEcho) |
| Reader or scanning device | Handheld wand, RFID/NFC reader, or smartphone app that captures the tag ID and timestamp during a round | Guard tour hardware or software vendor |
| Guard tour software | Matches scanned tag IDs to routes, schedules, and guard records | Security software provider |
| Accountability report | Route completion rate, time on route, missed or late checkpoints | Generated from the scan data by the software |
The tag itself does not “know” anything about schedules or routes — it simply returns a fixed ID when read. All of the accountability logic lives in the software layer. That means the tag’s job is narrow but critical: be in the right place, survive the environment, and return a clean, correctly encoded ID every time it is scanned.
Where Checkpoint Tags Get Installed — and Why Format Matters
Checkpoints are typically placed at the ends of a route and at points the client cares most about: building entrances, stairwells, fire safety equipment, equipment rooms, loading docks, perimeter fencing, and gates. Each of these locations has a different mounting surface, exposure level, and available space, which is why a single tag format rarely covers a whole site.
| Checkpoint location | Recommended tag format | Mounting method | Protection level |
|---|---|---|---|
| Doors, stairwells, corridors | ABS disc token tag (e.g. 30mm) | Nail/screw-through or 3M adhesive | IP67 |
| Fire extinguishers, alarm points, equipment rooms | HF/NFC patrol point tag | Screw or double-sided tape | Waterproof, shock-proof |
| Outdoor poles, fences, gates | Bracket- or nail-mount patrol tag | Bracket clip for pole/pipe | IP67–IP68 |
| Metal doors, cabinets, machinery | Anti-metal patrol tag with ferrite spacer | Adhesive or screw mount directly on metal | IP67 |
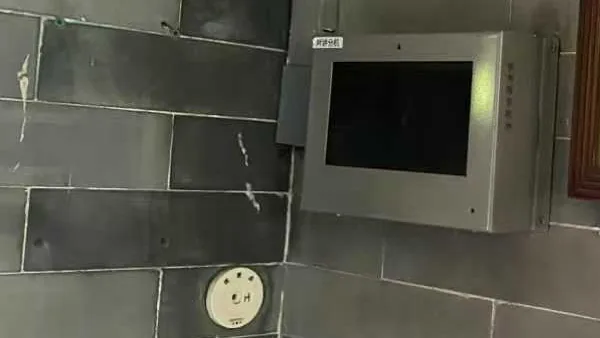
That last row matters more than buyers expect. A standard token tag mounted directly on a steel door or electrical cabinet can lose most of its read range, because the metal detunes the antenna. If a checkpoint sits on a metal surface, specify an anti-metal variant up front rather than discovering the read failure during the pilot. RFIDEcho’s RFID anti-metal tags cover this case for patrol and asset applications alike.
From Checkpoint Scans to Accountability Reports
Once scans start flowing in, guard tour software turns raw tag-ID-plus-timestamp data into the reports that actually drive accountability:
- Route completion rate — which checkpoints were scanned during a shift, and which were missed entirely.
- Time on route — how long a guard spent between checkpoints, flagging rounds that were rushed or suspiciously fast.
- Late or out-of-sequence scans — checkpoints scanned outside their scheduled window, or in the wrong order.
- Client-facing audit trail — exportable logs that a security contractor can hand to a client as proof of coverage.
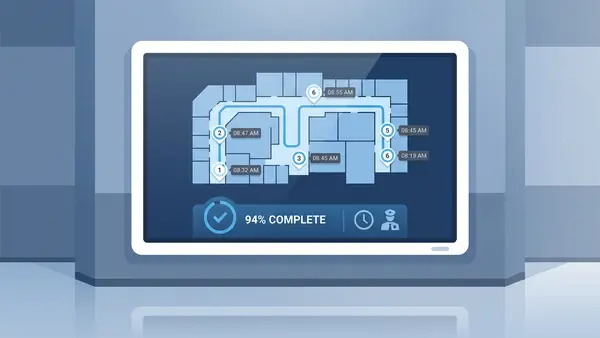
This is also where tag encoding matters. Checkpoint tags should be factory-encoded with IDs that match the numbering scheme the guard tour software expects — by site, building, floor, or route — so that a scan maps cleanly to “Checkpoint 14, East Stairwell, Building B” rather than a raw chip serial number that has to be manually mapped later.
Choosing the Right Frequency and Chip for Guard Tour Tags
Most guard tour hardware is built around one of three RFID frequency ranges, and the choice usually comes down to what reader or app your guards already use rather than which frequency is “best.”
| Frequency | Typical reader | Best fit | Tradeoff |
|---|---|---|---|
| LF 125kHz | Dedicated patrol wand | Legacy guard tour systems with handheld wands | Short contact-range read; widely supported by older patrol hardware |
| HF 13.56MHz / NFC | Smartphone with NFC, or HF reader | App-based guard tour platforms | Very short range, which actually helps confirm intentional, on-site scans |
| UHF 860–960MHz | Fixed or handheld UHF reader | Sites combining checkpoint scanning with broader asset tracking | Longer range can pick up unintended reads if tags are placed too close together |
If your team is already running a guard tour app or wand-based system, the simplest path is to match the existing reader’s frequency rather than introducing a second technology. RFIDEcho’s RFID patrol tags — also sold as RFID security patrol tags — are available across LF, HF, and UHF to fit existing reader infrastructure, with factory encoding to your numbering scheme.
Common Mistakes When Deploying RFID Patrol Checkpoints
- Mismatched frequency: ordering UHF tags for a system that ships with an LF wand, or vice versa.
- Standard tags on metal: mounting a non-anti-metal tag directly on a steel door or cabinet and getting unreliable reads.
- No encoding plan: receiving tags with factory-default IDs that don’t map to the software’s route or checkpoint numbering.
- Ignoring outdoor exposure: using an indoor-rated tag on an exterior pole or gate where it faces rain, UV, and temperature swings.
- Skipping a pilot route: rolling out tags across an entire site before confirming read reliability on the actual mounting surfaces.
A short pilot — a handful of checkpoints across the different surface types on your site — catches most of these issues before a full rollout. This same logic applies to RFID patrol management deployments for fire safety inspections, property management rounds, and utility checks, not just security guard tours.
RFQ Checklist for RFID Guard Tour Checkpoint Tags
| RFQ detail | Why it matters |
|---|---|
| Number of checkpoints and route map | Determines tag quantity and the numbering/encoding scheme |
| Existing reader or app (model/brand) | Confirms the required frequency and protocol |
| Mounting surface at each checkpoint | Identifies where anti-metal or outdoor-rated tags are needed |
| Indoor/outdoor exposure | Determines IP rating and housing material |
| Encoding format | Ensures tag IDs match the guard tour software’s numbering |
| Printing or labeling needs | Location names, route numbers, or logos for on-site identification |
| Sample quantity and timeline | Confirms pilot-route testing before a bulk order |
For tag-level specs, durability ratings, and a buying checklist, see RFID Security Patrol Tags: Specs, Durability, and Buying Checklist. If the same facility also needs sealed cabinets, gates, or access-control audit points, see RFID Access Control and Tamper-Evident Tags. For custom encoding, mounting hardware, or anti-metal variants, contact RFIDEcho with your route map and existing reader details.
FAQ
What is an RFID guard tour system?
An RFID guard tour system is a patrol-verification setup where fixed RFID tags are mounted at checkpoints along a guard’s route, and a handheld reader, wand, or smartphone scans each tag during the round to create a timestamped record confirming the guard reached that location.
How does RFID prevent “ghost patrols” or falsified logs?
RFID prevents ghost patrols because each checkpoint scan requires physically reading a tag that cannot be scanned from a distance or recalled from memory. Unlike a paper log, a guard cannot record a visit without the reader capturing that specific tag’s ID and a timestamp at that location.
What frequency should I choose for RFID guard tour checkpoint tags?
Most guard tour checkpoint tags use LF (125kHz) for legacy patrol wands or HF (13.56MHz)/NFC for smartphone-based apps; UHF (860–960MHz) is less common for handheld scanning but can suit fixed-reader setups. The right choice depends on the reader or app your guard tour software already uses.
Can RFID checkpoint tags be mounted on metal doors or equipment?
Yes, but standard patrol tags are not optimized for metal mounting and may lose read range on steel doors, cabinets, or machinery. For these checkpoints, use an anti-metal patrol tag variant with a ferrite spacer layer, which maintains normal read performance on conductive surfaces.
Do I need to replace my existing patrol reader system to add RFID checkpoints?
Usually not. RFID checkpoint tags can be factory-encoded to match the numbering scheme of guard tour software already in use, across LF, HF, and UHF readers, so new tags integrate with existing reader hardware instead of requiring a system replacement.